How to install windows 7 on Intel skylake and Kabylake based computer
Summary:
This article tells you how to add USB 3.0 and intel RST drivers to Windows 7 installation disc, and install Windows 7 on Intel Skylake and Kabylake (6th&7th generation) based laptop and desktop computer with USB drive.
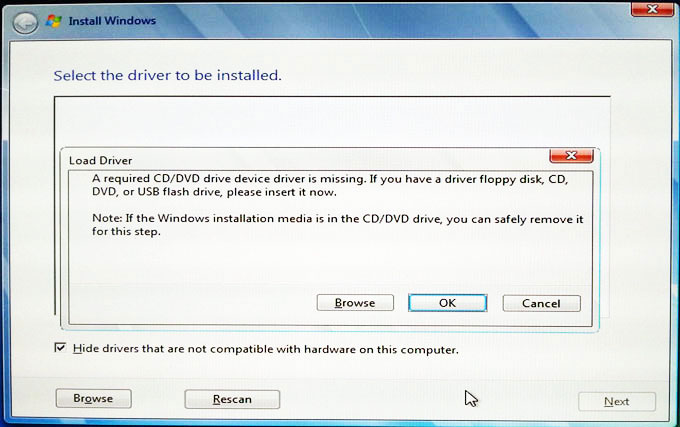
Because the Windows 7 installation disc doesn't contain Intel RST driver for the Intel Skylake and Kabylake based PC, so the Windows 7 installation program cannot find the hard drive or SSD connects to SATA controller. Also, without USB 3.0 driver, the devices connect to USB 3.0 port work incorrect.
Tool and files you must download:
Guide to add driver to Windows 7 installation iso image:
1. Insert a USB flash disk to your computer.
2. Start Windows USB/DVD Download Tool, select Windows 7 Disc Images (ISO Files), and burn the Windows 7 Disc images to USB disk.
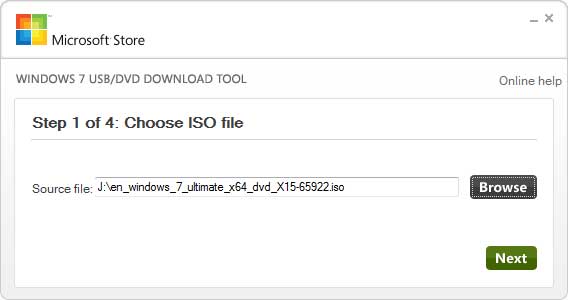
For step by step guide, see Using The Windows 7 USB/DVD Download Tool.
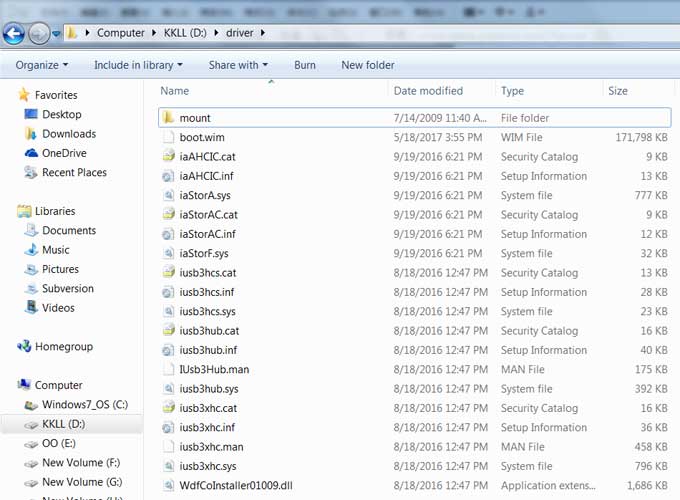
3. Create Folder "drivers" on d:\, and create folder "mount" on d:\driver\.
- Copy all files on Drivers\Win7\x64 and Drivers\HCSwitch\x64 to D:\driver\.
- Copy all files on IRST\f6flpy-x64 to D:\driver\.
- Copy file "USB flash Driver"\sources\boot.wim to d:\driver\boot.wim
Tips: If your Windows 7 installation disc is x86 version, you must copy driver files on x86 folder to D:\driver\.
Tips: You can find the USB 3.0 driver and Intel RST driver on the driver disc of your computer or mainbord. Or you can find the drivers on official site of the computer vendor. Or you can download driver from here: Intel USB 3.0 drivers, and Intel Rapid Storage Technology driver.
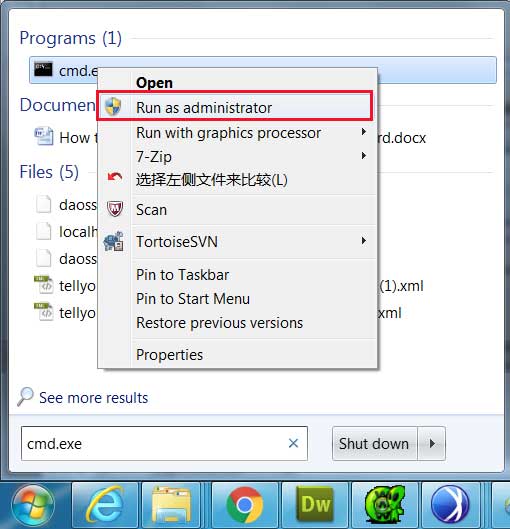
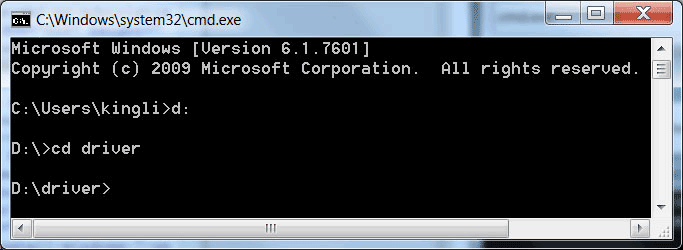
4. Run "cmd.exe" as administrator.
5. Switch to D:\, and CD to d:\driver\ folder.
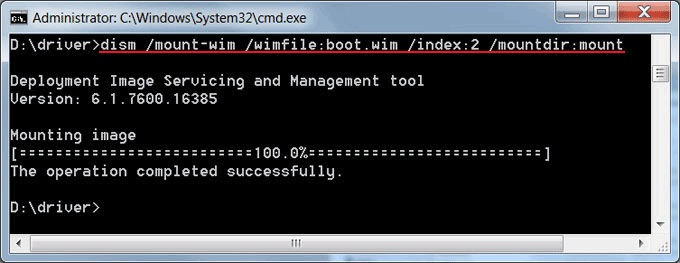
6. Mount boot.wim file to d:\driver\mount. Run command: dism /mount-wim /wimfile:boot.wim /index:2 /mountdir: mount
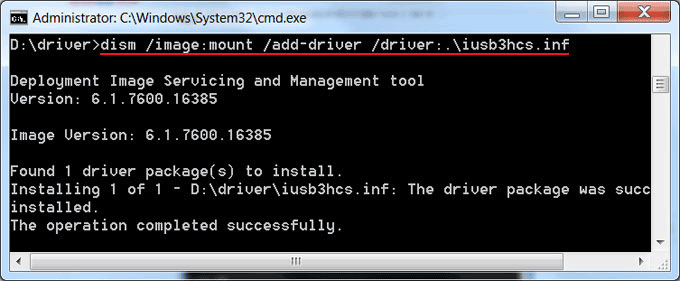
7. Use the following commend to add USB 3.0 driver and Intel RST driver to image file.
Type in command: dism /image:mount /add-driver /driver:.\iusb3hcs.inf, press Enter.
Type in command: dism /image:mount /add-driver /driver:.\iusb3hub.inf, press Enter.
Type in command: dism /image:mount /add-driver /driver:.\iusb3xhc.inf, press Enter.
Type in command: dism /image:mount /add-driver /driver:.\iaAHCIC.inf, press Enter.
Type in command: dism /image:mount /add-driver /driver:.\iaStorAC.inf, press Enter.
Example: command to add driver to image.
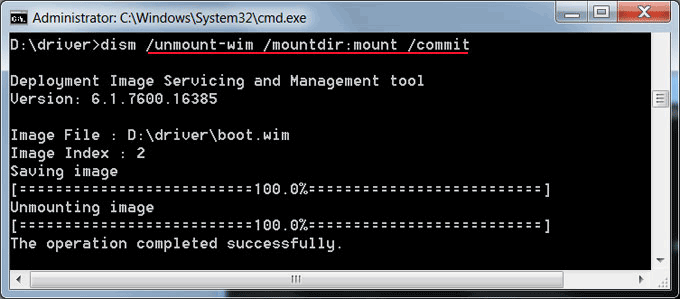
8. Unmount image. Run command: dism /unmount-wim /mountdir: mount /commit
9. Copy file d:\driver\boot.wim to "USB flash driver"\sources\, and replace the old file.
Boot Skylake computer from the Windows 7 USB installation disc and you will find that it work right. See how to set computer boot from USB drive.
Tips: You can get Windows 7* USB 3.0 Creator Utility to add USB 3.0 driver to Windows 7 USB installation disc, but in my experience, without Intel RST driver, it still work incorrect with Skylake computer.
Hot Tips
Hot Tags
- Reset windows password

- Forgot Windows 7 password
- Forgot Windows xp password
- I forgot my computer password
- Toshiba laptop password reset
- I forgot my laptop password
- Lost windows 7 password
- Forgot laptop password windows 7
- Unlock windows 7 password
Testimonials
- Good. From this article, I learn many ways to resst windows password.
- Chairs
Support

Awards